by Marilyn Suke
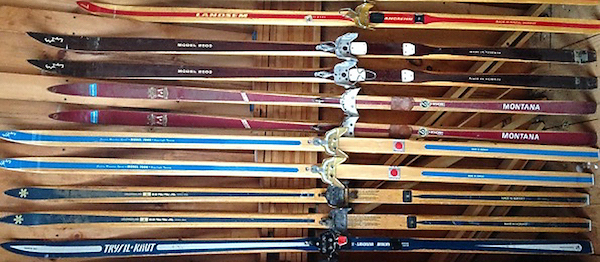
The beauty of a well grip waxed ski is undeniable. Solid grip and effortless glide sets the rhythm for a perfect ski. Faced with an array of grip wax choices, what is a good approach to achieving this as your goal? Some suggestions follow.
Tips for Grip Waxing Your Skis
First, ensure that your skis fit. It is essential that your grip zone is off the snow when you are gliding and that you have the strength and technique necessary to compress the wax pocket (grip zone) to bring your grip wax onto the snow. Grip zones should be clearly marked on the skis so that you are not guessing where to apply the grip wax.
 If you are starting with a clean grip zone, prior to arriving at the trails, apply a layer of grip wax over the entire zone that is a little colder (harder) than what you think you will require.
To cork this wax really smooth you can heat gently with a hair dryer or a dedicated grip wax iron. This layer should be fairly thin and very even. It will provide a base onto which your wax of the day is applied. Any bumps or waves may catch on the snow and slow your glide.
When you arrive at the trail you will need to determine the character of the snow and how it will interact with your wax. Some factors to consider are:
- Temperature
- Moisture
- Shape of individual snow grains (sharp pointed, rounded)
- Quality of the tracks (firm, soft, glazed/icy)
Then apply these to your wax choice.
Pick a wax in the temperature range of the day. If it is wet (the snow is transformed to rounded crystals) or if the tracks are icy, you will need to pick a warmer wax than the temperature might indicate. If there is fresh snow you may need to go colder.
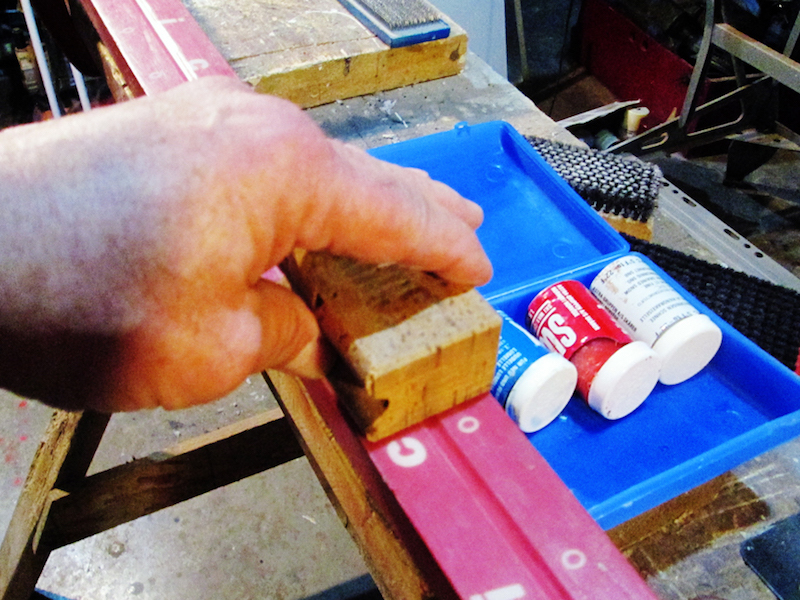
Apply two thin coats of your choice and cork smooth. Put the wax in your pocket with a warmer and a cooler wax and ski for a few minutes. Try skiing without your poles to get a real feel for the quality of your grip. Pick up a ski and look at the grip zone.
A small amount of snow should cling to the grip zone but should be easy to brush off. Looking closely you should see small dimples in the grip wax that indicate the grip wax is flexing with the snow but not allowing the individual particles to penetrate.
If snow is clinging but not releasing you need a colder wax to cover the wax you have applied. If no snow is clinging and you have insufficient grip you need a warmer wax. If the ski looks good but you want more grip apply the same wax but more layers.
When grip waxing a ski on the trail I find taking off my glove and rubbing the wax with the heel of my hand warms the wax a little a makes the application of more wax much easier.
Potential Trouble with Grip Waxing
- Grip is initially good but then vanishes. This can happen if the snow crystals are sharp and your wax is a bit too soft for the day. Crystals of snow penetrate your grip wax and get caught in the wax forming a layer of ice that will not grip the snow. You will need to rub the wax with the palm of your hand to melt and release this ice. You will actually see water come out of your grip wax as you do this. Sometimes this can happen if you skied on grip wax that was warm from being inside and it will be okay if you just ski on it now that it is cool. Sometimes you need to put a colder wax on top.
- Snow clings to the bottom of your ski. This usually happens on mild days with fresh snow. It can happen if you set off on a warm afternoon and then the temperature falls. Snow crystals have again clung to your grip zone and then they invite their snowflake friends to join. You can often remedy this in the same way as above after scraping off your ski.
- Grip is OK but sometimes the skis are sticking. This usually happens when there is a large difference between the quality of the snow in the tracks and on the trail. Try to stay in the tracks and if it is necessary to step onto the trail keep your skis moving.
- If the temperature is zero or above and you cannot get grip with the waxes in your box. This is the most challenging conditions for classic skis.
Grip Waxing for Warmer Weather
If the temperature is above zero and you cannot get grip with the waxes in your box, you have a number of options:
- Decide to skate instead.
- Have a backup pair of skis with mechanical grip (crowns, shscales, zero skis, skins)
- Apply Klister, a gel-like wax that normally comes in a tube and when applied in a thin, smooth layer it is a wonderful thing. It is a bit messy but there is a new way.
 An applicator bottle of Klister is available from Swix that looks kind of like a shoe polish bottle. You dab it on your grip zone, rub it smooth with the sponge, allow it to dry and enjoy the grip. Amazing.
Just remember that you should scrape Klister off your skis prior to putting them away as it can make a sticky mess of anything it encounters.
Many skiers feel grip waxing makes skiing just too complicated and they prefer to use a waxless mechanical grip. While the car to snow time is less, the joy of glide on a crisp winter day cannot be attained on a waxless ski. Now the new classic skis with skins may change all this but for now grip wax provides the very best ski experience.
Questions About Grip Waxing Your Skis
I was always told it was okay to put a warmer temperature wax on top of a colder temperature wax, but never the opposite. Is this true?
You can cover warmer wax with colder. You might do this when it is icy and you want to use the warmer wax as a cushion to provide grip, but there is loose snow that may cause icing on the softer wax.
After applying the warmer wax, cool it (set the skis on the snow with the grip zone off the snow). Then carefully cover the grip zone with colder wax (a thin but thorough layer). This will also increase the durability of the wax in aggressive conditions.
What if the “grip zone” is not marked on my skis? Is there a guideline I could use, e.g. xx inches beyond foot location or other?
It is best to mark your grip zones. Suntrail Outfitters in Hepworth would be happy to let you use their tester for your clean skis. Or place the skis on a flat surface (a countertop works if you have a high ceiling).
Standing on both skis, run a single sheet of paper under the foot. Where there is no room to move the paper is where you put your wax. There is never a need to put wax behind your binding.
Usually the grip zone extends about a hand span in front of your foot but that can really vary. We mark our zones with a Sharpie or a piece of masking tape on the side of the ski.
I have spray-on Swix wax in three temperatures. On some days which start at -2°C or -1°C, it could go either way. Once it was oscillating around -2°C to 1°C, where all three waxes could work. What would you suggest?
I believe you are talking glide here. Again, I like to think of how the snow crystals are interacting with the ski base. If the snow is icy, aggressive, dry, dirty, or if it has been cold and is warming, go colder.
If it is wet and warming, go warmer. It is also okay to mix waxes if you can ‘t decide or do one ski in each and see if you can tell a difference. This is something you should do with grip too.
Thanks for the tips, very clear and easy to follow for the “intermediate” level skier like myself. I’ve followed your advice a few times and got great results. But I have 3 questions if you don’t mind:
1. I was always told it was OK to put a warmer wax on top of a colder temp.wax but never the opposite. Is this true cause either case could happen as you point out above?
2. What if the “grip zone” is not marked on my skis, is there a guideline I could use, ex: xx” beyond foot location or other?
3. I have spray-on swix wax in 3 temperatures: -2/-15 -3/0 0/3. On some days which start at -2 or -1, it could go either way, once it was oscillating around -2 to 1 where all 3 could work. What would you suggest?
Paul, thanks for your questions. I added your questions and Marilyn’s responses to the article above.
I hope that helps.